
Introduction
So, you’ve opened your first Doom Pile Structure Deck and discovered the Master Plan The Sacrifice Must be Paid! Now what? If you’re looking for guidance on how the deck works out of the box, and what you can do to improve it, then you’ve come to the right place!
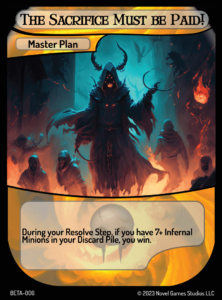
Sacrifice Must be Paid! is a Master Plan which reads “During your Resolve Step, if you have 7+ Infernal Minions in your Discard Pile, you win.” It is most closely associated with Infernal and Implement cards, and focuses on putting a whole bunch of Infernal Minions into the Discard Pile, either by sacrificing them or simply discarding them.

Opening Strategy
Your opening hand out of the box consists of Greedy Page-Turning, Cheap Demon, Faustus, the Bargainer, Mephistopholes, Faustian Patron, and Grim Spellbook. You should play all of these cards into countdown on your first turn.
At the start of your next turn, Grim Spellbook and Cheap Demon will resolve, and you’ll draw your sixth card, Expensive Knowledge. Generally, you’ll want to sacrifice the Cheap Demon right away to Expensive Knowledge, but depending on what your opponent looks to be doing, it may be worth keeping it around in order to protect Grim Spellbook.

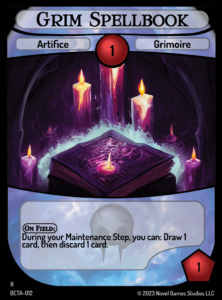
Grim Spellbook is the heart and soul of this deck’s main strategy. You can win without it, but it sets up a lot of your plays, and the deck is ordered with the assumption that it remains in play. At the end of this turn, you should activate its On Field effect during the Maintenance Step, drawing Sadsack Devil and then immediately discarding it. This interaction is important, because Sadsack Devil is interred when it is sacrificed, meaning you won’t be able to count on it for achieving your Master Plan unless you can get it into the Discard Pile by other means.

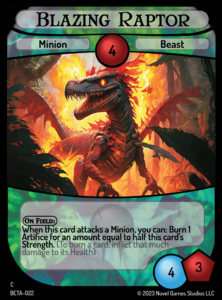
On your next turn, Greedy Page-Turning, Faustus, the Bargainer, and if you played it, Expensive Knowledge will resolve, and you should draw four cards, plus one more for your Draw Phase. This new grip will including Burning Catapult, an important card serving as a backup strategy later to make a final push for 7+ Infernal Minions in the Discard Pile, and Blazing Raptor, a Beast card that you can use to help handle both Minions and Artifices later, should you need to.

At the end of this turn, you should draw and then discard another Sadsack Devil with Grim Spellbook. The next turn plays out in much the same way as your second turn, where you’ll draw another Expensive Knowledge and sacrifice the just-resolved Cheap Demon to play it, then draw and discard your third and final Sadsack Devil, putting you only two Infernal Minions away from victory.
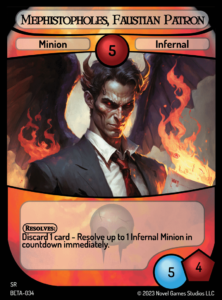
Over the next few turns, you’ll be slowly preparing for a final push for victory using some combination of Mephistopholes, Faustian Patron, and Burning Catapult. Once Mephistopholes resolves, you can use it to discard one more Infernal Minion and immediately resolve one from countdown. You can then sacrifice Mephistopholes to Burning Catapult and kill the Infernal Minion that just resolved, along with almost everything else. Depending on how you’ve been playing and whether your opponent has done much to disrupt you, this could leave you with as many as nine Infernal Minions in the Discard Pile, hopelessly ahead while your opponent has only one turn left before your Master Plan causes you to win.
Matchup Considerations
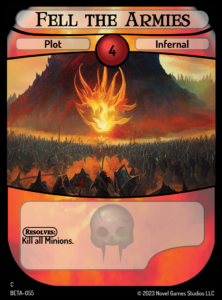
Because you benefit from having your Infernal Minions in the Discard Pile, your opponents will be unlikely (and foolish) to try and thwart even your most powerful Minion cards. This does however leave you susceptible to running out of steam as they work to thwart your draw power like Greedy Page-Turning or Expensive Knowledge. This can leave you with a fair amount of Minions on board but little to do with them, especially as heavy-hitters like Incendiary Witch lie further in your deck. This is where Fell the Armies can come into play as a last-ditch effort to kill every Minion left on the field, including your own.
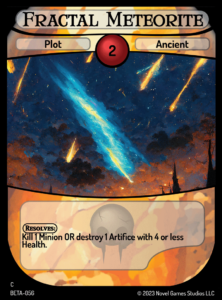
Like other decks that don’t often put many Minions on the field, the Ignite the Guidestones! Structure Deck is a serious contender for you. This strong control strategy utilizes Scolding Stone, which can keep your Mephistopholes, Faustian Patron from resolving, leaving you without a bomb and one Minion shorter when counting for The Sacrifice Must be Paid!. This is why you have several options for Artifice removal like Fractal Meteorite, some of which may be worth playing higher up in your deck list to keep afloat against this slow but steady Master Plan.
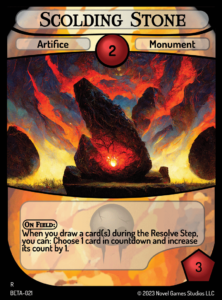
With the amount of drawing available to you, putting your own Scolding Stone higher up in your list, or even in your opening hand, can help you delay your opponent’s attempts to Inter the Minions already in your Discard Pile.
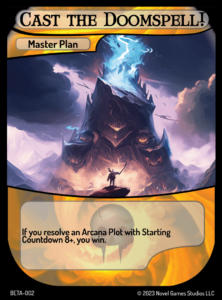
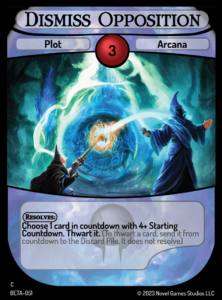
Besides control decks, your other main threats are other combo decks, such as Cast the Doomspell! Because this Master Plan operates on a completely different axis from you, you may need to plan for going on the offensive rather than simply protecting yourself. This is where cards like Dismiss Opposition can come in, thwarting their 8+ Starting Countdown Arcana Plots that they need to win.
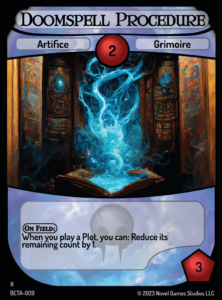
And of course, making your own deck operate faster is a surefire way to protect your cards, simply by winning before your opponent can set up a counter-strategy! Additional copies of Greedy Page-Turning can go a long way, and you can add cards from other structure decks too, such as Doomspell Procedure, to allow your draw power cards to resolve faster and get more Infernal Minions into your hand, then into your Discard Pile!
Conclusion
What do you think of The Sacrifice Must be Paid!? There are plenty more ins and outs to learn about the structure deck and the cards within as you work to improve it, develop your own strategy, and aim to end the world by paying the demonic sacrifice.
Good luck in your pursuit of world domination!
