
Introduction
So, you’ve opened your first Doom Pile Structure Deck and discovered the Master Plan Become the Apex! Now what? If you’re looking for guidance on how the deck works out of the box, and what you can do to improve it, then you’ve come to the right place!
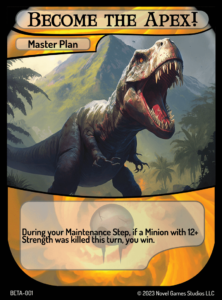
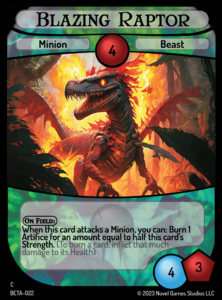
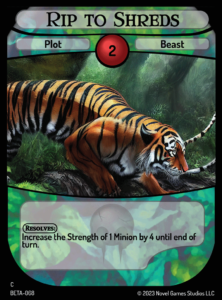
Become the Apex! is a Master Plan which reads “During your Maintenance Step, if a Minion with 12+ Strength was killed this turn, you win.” It is most closely associated with Beast and Nest cards, and focuses on pumping up a large Minion such as Blazing Raptor using cards like Rip to Shreds, and eventually sacrifice it in order to win.
Opening Strategy
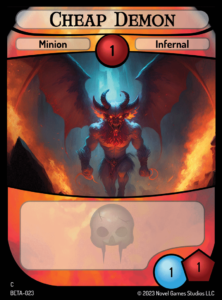
Your opening hand out of the box consists of Greedy Page-Turning, Blazing Raptor, Grizzly Platypus Den, Protective Parent’s Egg, and Cheap Demon. You should play all of these cards into countdown on your first turn.
At the start of your next turn, Cheap Demon will resolve, and you’ll draw your sixth card, Expensive Knowledge. There’s no reason not to sacrifice the Cheap Demon here, as you don’t have any Artifices to protect yet, so go ahead and do so to play Expensive Knowledge into countdown.

Most of your deck is a slow build up of resources, primarily Minions and Artifices, to prepare for a final explosive turn where you can sacrifice a large Minion, so the cards that resolve on your third turn just continue that grind. Greedy Page-Turning, and Expensive Knowledge all resolve, and you’ll draw four cards. Protective Parent’s Egg also resolves, giving you your first Minion that you’ll intend to stick around to protect the Grizzly Platypus Den that also resolved this turn. This just leaves Blazing Raptor left in countdown at 2 count remaining.
After you draw your card for turn, your hand now consists of Precious Prey, Protecting Guidestone, Raptor’s Nest, Rip to Shreds, and Dismiss Opposition.

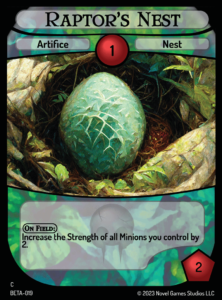
Precious Prey is a great card, but it needs help to draw you cards when it eventually resolves. That’s where Raptor’s Nest comes in—you’ll even draw a second one before the Minion comes into play, letting it draw you potentially up to 4 cards on its own if all goes according to plan. Play both of these cards, as well as the Protecting Guidestone. Do not play Rip to Shreds! You’ll save this up to use along with some other cards to pump up Blazing Raptor all in one turn.
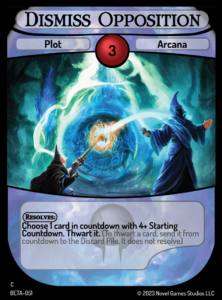
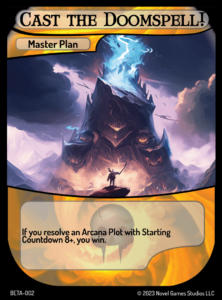
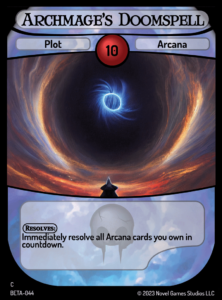
You can also choose to play the Dismiss Opposition now if there’s a concerning threat in your opponent’s countdown, such as an Archmage’s Doomspell when facing a Cast the Doomspell! deck.
Over the next few turns, you’ll be collecting more cards to hold steady and eventually unleash your blowout turn. During this time, your Minions can be on the offensive—with high Strength thanks to a Raptor’s Nest or two, and high Health thanks to Grizzly Platypus Den, your Minions can march through your opponent’s front line, and inevitably, destroy their Artifices!
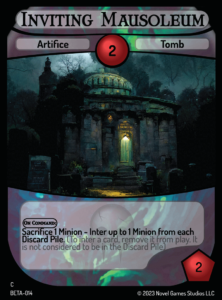
When you’re ready to end the game, the timing will need to be precise; once you’ve drawn your Sprout Claws, that’s when you know it’s safe to play Rip to Shreds into countdown. When Rip to Shreds hits 1, play Sprout Claws so it will resolve on that same turn. Your Blazing Raptor should be in play by then, but in a pinch, a Protective Parent’s Egg being buffed by both Raptor’s Nests can also suffice. Sacrifice whichever Minion you pumped with all of your Plots and Artifices up to 12 Strength to activate Inviting Mausoleum, then move to your Maintenance Step to Become the Apex! and win the game!
Matchup Considerations
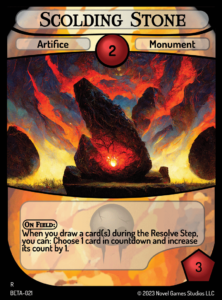
Your deck has a very strong matchup against Artifice-focused decks like Ignite the Guidestones!. While cards like Scolding Stone can temporarily set you back, eventually your Minions will be able to overpower your opponent’s defending Minions and Artifices.
Empty the Graveyards! is also an Artifice-heavy deck, but beware their efficient Minion removal. If your Minions spend too long in the Discard Pile, they may end up Interred by their own Inviting Mausoleum.
Your main threats come in the form of combo decks like Cast the Doomspell! and The Sacrifice Must be Paid!. The former can be staved off with cards like Dismiss Opposition or, if combining cards from other Structure Decks, Employ Contingencies, but the latter is a much more persistent and grindy foe, not unlike your own deck.
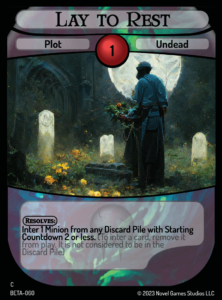
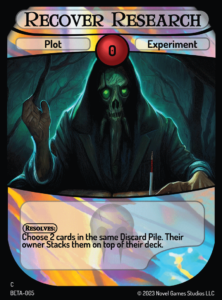
Take advantage of cards like Lay to Rest to inter your opponent’s Minions from the Discard Pile and reduce the number of resources they have to achieve victory. In a pinch, Recover Research can also slow down an Infernal deck by Stacking two Infernal Minions back on top of their deck.
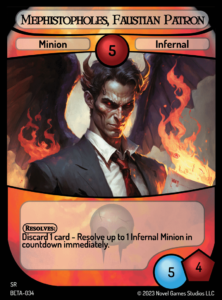
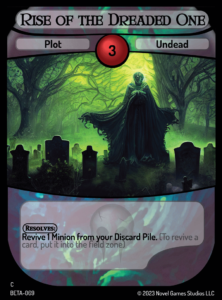
And of course, there’s plenty you can do to make your own deck more efficient. Going for a quick-rush glass-cannon strategy can prove fruitful, frontloading cards like Raptor’s Nest and Rip to Shreds to pump up a Minion with base Strength less than Blazing Raptor, expecting to go unpunished. Your deck includes an additional Rip to Shreds for this purpose. You could even plan on circumventing the otherwise extended countdown of a card like Mephistopholes, Faustian Patron by finding a way to get it into the Discard Pile and reviving it with Rise of the Dreaded One.
Conclusion
What do you think of Become the Apex!? There are plenty more ins and outs to learn about the structure deck and the cards within as you work to improve it, develop your own strategy, and aim to take over the world by slaying the largest creature that could stand in your way.
Good luck in your pursuit of world domination!
